Perfect inlays with your Router
From contrasting woods to coins or even stones, inlays are a great way to add a special touch to your projects….but if you have ever tried to cut an inlay by hand, you know that it can be a time consuming task requiring an assortment of razor-sharp tools and more than a little patience. Luckily, there is a way to do inlays quickly, and end up with a perfect fit….every time.
A router inlay kit consists of 3 pieces: A 1/8” carbide spiral bit, and a matching brass router template guide, and an inlay bushing. Here’s how you use the kit to get perfect inlays.
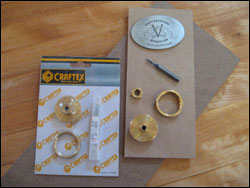
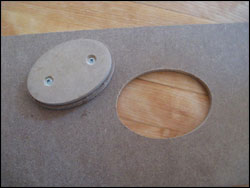
The first step is to make a template for the router to follow when you create the inlay recess. If the object you are inlaying is flat and at least ¼” thick you can use it to make your template, but if it has an irregular surface or is too thin (as mine is), you will need to make a copy of the part out of ¼” hardboard. Simply trace your object onto the hardboard and cut out the shape on a bandsaw or jigsaw, then fine tune it with sandpaper until it is an exact match.
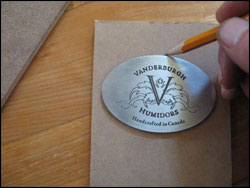
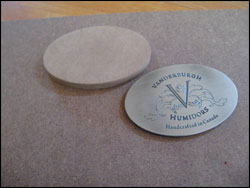
Attach your inlay copy to a larger piece of ¼” hardboard which will make your template with glue or screws, then securely fasten the entire assembly to a piece of scrap to A: Avoid routing into your bench as you cut through the template, and B: to prevent the cut-out from catching on the bit after completing the cut.. With the 1/8” bit and brass template guide (without the bushing) in place in your router, trace around your inlay in a counter-clockwise direction, cutting progressively deeper until you have cut all the through the template. The resulting hole will be a larger, but exact copy of your inlay material.
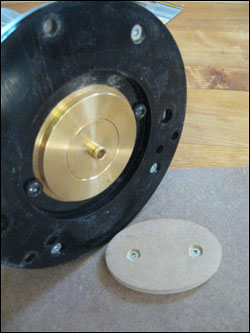
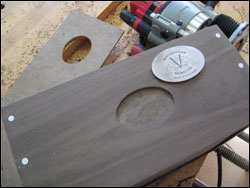
Next, slide the 1/8” thick inlay bushing in place over the template guide on the bottom of the router, and fasten your template in place on the object which is receiving the inlay.
Set your depth stop on your router so the bit projects just slightly deeper then the thickness of your inlay, then cut out the recess. Now, you’ll want to take your time cutting the recess, as you really only have one shot at it. Start by taking a light cut, and move the router around the outside of the template in a clockwise direction.
This will define the cut and reduce the amount of tear out from the router bid. Once the outside has been defined, clear the waste from the center, then repeat the above steps until you recess is the correct depth. As sawdust build-up can cause an inaccurate cut, before removing the template blow or vacuum out the recess and check to ensure your recess is perfect, and make another pass if required.
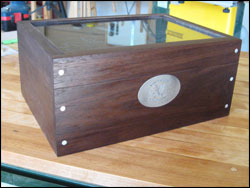
Test fit your inlay, and make any minor adjustments with a sharp chisel and/or sandpaper. There you go: Perfect inlays with only a small investment of both time and money.
From my bench to yours,
Ryan Shervill


