Using the Craftex 24 inches Dovetai Jig
In applications where speed of construction is important, machine cut dovetail allows the use of strong dovetail joinery where less robust methods would normally be used. When a hand cut dovetail is not called for, a dovetail jig is the ideal solution.
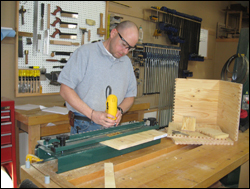
I recently had the opportunity to play with the new 24” Dovetail jig from Craftex, and after following the setup instructions ion the manual I put it to work making multiple panels. Being as the manual is quite good, for this issue I thought I’d give some tips and techniques for using this jig that you won’t find in the manual.
Initial setup tips: When you first set up your jig, it is just a rough setup to get the measurements “close” and you will need to make a few test joints to fine tune the fit of your dovetails. Here are a few tips to make that initial setup easier.
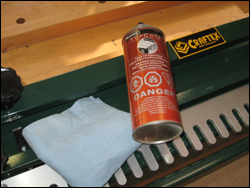
When setting up the machine, give the aluminum fingers a coat of Top Cote or wax, and do the same with the plate of your router. This one step makes a world of difference when it comes to using the jig.
Fence: There is a formula in the manual for setting the fence distance from the fingers, but I have a revised one that works a little better: Take the radius of your router’s base (Diameter divided by two), add double your stock thickness (ie: 2 X ¾” = 1 ½”), subtract ½” (the diameter of your bit) and add 1/16”. This won’t be dead on, but it will be close.
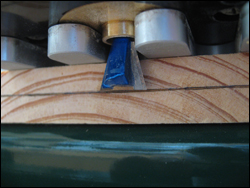
Bit depth: Do your initial setup with ¾” material, and mark a pencil line in the middle of the board face (3/8”). Sit your router in place and raise or lower the bit until it intersects the line, then lock it in place.
Tips for Use:
After doing your rough setup, cut a test joint and adjust your bit depth and/or fence position as outlined in the manual. Cut a new test joint after each adjustment, and once you have a perfect fit, measure your bit depth and make a note of the material thickness and bit depth to make future setups quicker.
Climb-cut the first pass: Before cutting the actual dovetails, do a light pass on your board from right to left to make a clean shoulder with no tear out. In this operation the router will try to pull itself along the board, so take a light pass, maintain a good grip and be extremely cautious.
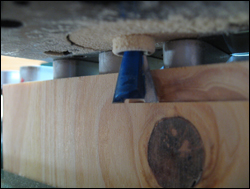
Keep the router flat on the table: Hold the router as close to the base as possible for stability, and be aware of the position of the base plate at all times…you don’t want to tilt the router at all.
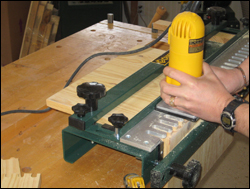
Take a clean up pass: After completing your pass, go over the fingers one more time. This ensures you didn’t miss removing any material, and cleans out any dust wedged into the tail cuts.
Use both sides of the jig: Although it is outlined in the manual, I want to stress it here. The left front and right rear corner joints are made against the left stop of the jig, while the others are cut on the right to ensure symmetry of your dovetails.
Only swap pieces one at a time: When you have routed a set of dovetails and need to switch boards, start with the top board while leaving the front board you just cut in place. The front board will give the new top board a place to register and it will be perfectly positioned. Once the new top board is clamped down, remove and replace the front board with a new piece and rout another set.
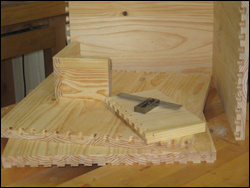
That’s it! Use these tips in conjunction with the instructions, and you’ll be making tight fitting half-blind dovetails in no time.
From my bench to yours,
Ryan Shervill


